
Configuring and managing your server
How to install Plugins
Enhance your Minecraft server experience by learning how to install plugins! This tutorial will guide you through the process of selecting, uploading, and configuring plugins to add exciting new features to your gameplay. Let's dive in and unlock the full potential of your Minecraft server!


Minecraft plugins are add-ons that enhance the gameplay experience of Minecraft servers. They allow server owners to add new features and functionality to their servers, such as new game mechanics, commands, and gameplay elements.
We will see how to add some to your server.
Prerequisites
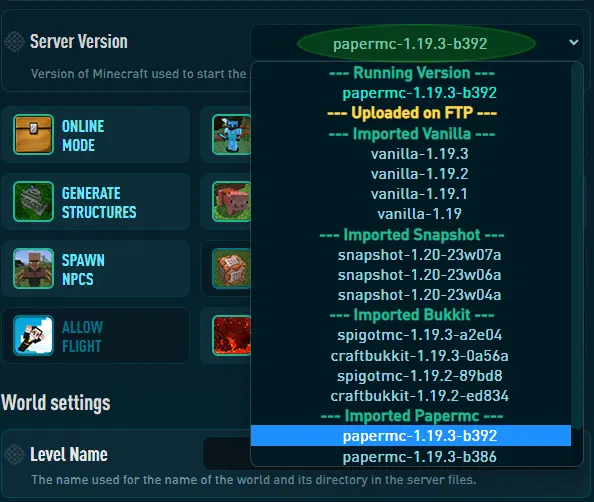
You need to use Spigot, CraftBukkit or PaperMC Minecraft version to install Plugins, because Vanilla do not support them.
1. If it's not already the case, be sure to switch your Minecraft Version, you can do this on the first panel page, under the Version input.
2. Do not forget to click on "SAVE CHANGES" and restart your server to apply the changes.

Download Plugins
The first step in installing a Minecraft plugin is to choose a plugin that you want to install. You can find plugins on various websites, such as Spigot, Bukkit, and CurseForge. Make sure to choose a plugin that is compatible with your server version and the server software you are using (e.g., Spigot, Bukkit, Paper, etc.). You can consult our list of recommende plugins.
1. Visit the official curseforge website.
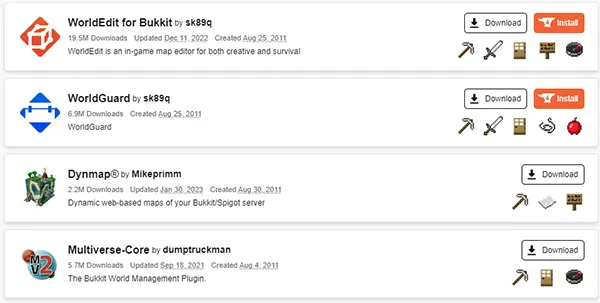
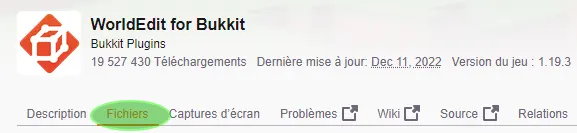
2. Select the plugins you want, here WorldEdit, navigate to the Files page.
3. Select the version you want, compatible with your Minecraft server, and then click on Download.
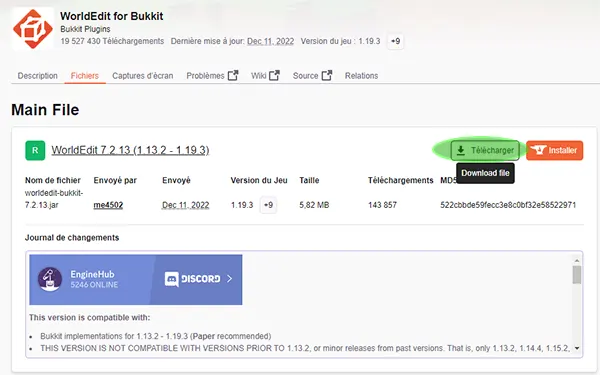
4. You will received a .jar file, here worldedit-bukkit-7.2.13.jar

Upload Plugins to your Server
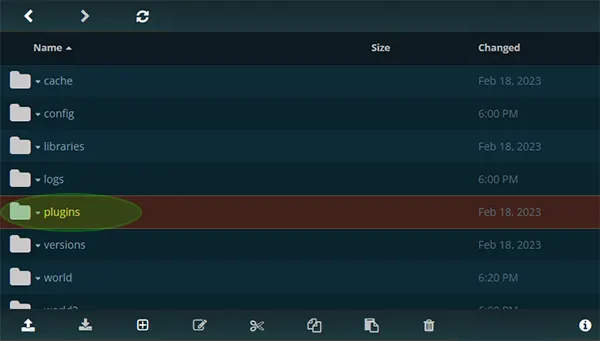
1. Click on WebFTP on the top of your panel

2. Navigate to the plugins folder
3. Click on Upload Arrow on the bottom of window to select your plugins, or Drag and Drop your Plugins in the server.
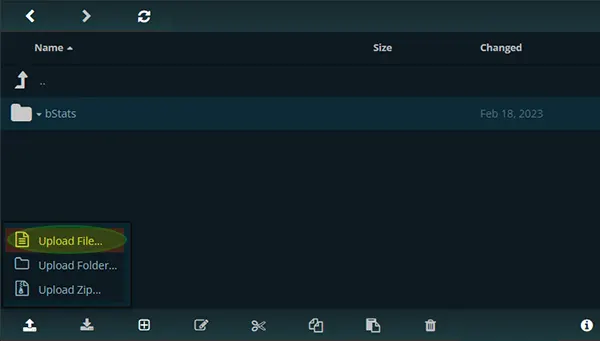
Alternatively, you can also connect to your server with FTP access in using Filezilla or Winscp
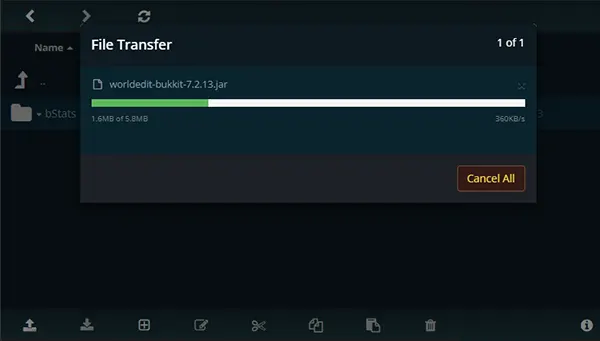
4. Wait during the upload
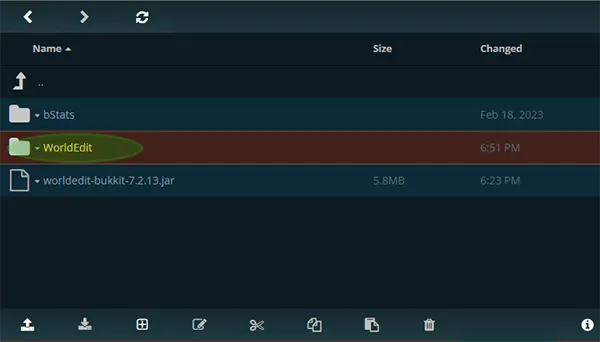
5. Your plugin is now uploaded

6. Start the server.

Configure Plugins
After you have installed the plugin, you may need to configure it to work correctly on your server. Many plugins come with configuration files that you can edit to customize the plugin's behavior. You can edit these files using a text editor or the server control panel.
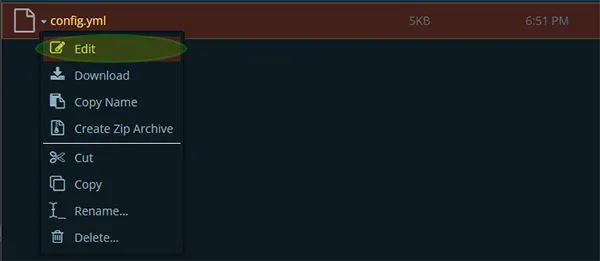
1. Navigate to the plugins folder, you should see a directory with the plugin name, open it.
2. Select the file named config.yml, and click on Edit
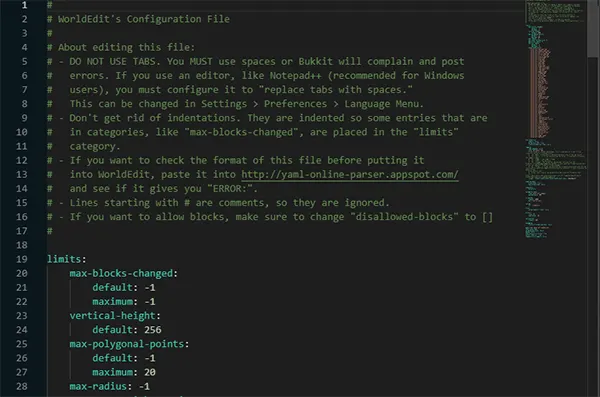
3. Here is the configuration file for worldedit where you can configure advanced features. Note that on many plugins, you generally have to use this file to configure the port to bind on, as for the vocal chat or dynmap plugins.
Test plugins
Once you have installed and configured the plugin, you should test it to make sure it is working correctly. Join your server and try out the plugin's features to see if everything is working as expected. If you encounter any issues, you can check the plugin's documentation or forums for troubleshooting help.
1. Connect to your server, and type the command /plugins

2. You should get the list of the installed plugins, here it return Plugins (1): WorldEdit since it's the only installed plugin.

Conclusion
Installing Minecraft plugins on a server is a relatively straightforward process. By following the steps outlined in this guide, you can easily install and configure plugins to enhance your Minecraft gameplay experience.