
Configuring and managing your server
How to add Plugins to Pixelmon with Sponge

On this tutorial I'll show you how to add Plugins to Pixelmon by using SpongeForge.
Spongeforge allows you to use both mods and plugins on your server, with some limitations. You can only install plugins that are designed for Sponge, as popular Bukkit/Spigot plugins are not compatible. But, most popular Bukkit plugins have a Sponge alternative available. Adding Sponge plugins is relatively easy, and this guide will walk you through the entire process of integrating them into your Pixelmon Minecraft server.
Server installation
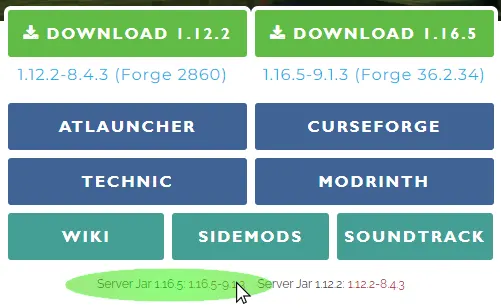
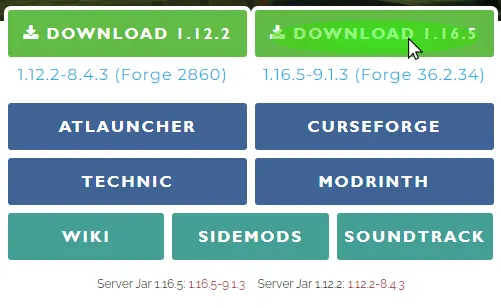
1. Download Pixelmon server mod files from the official Pixelmon reforged website
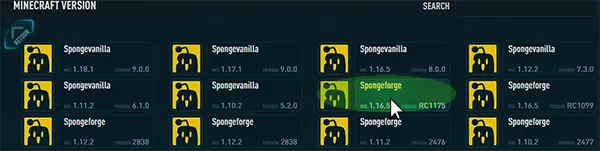
2. Navigate to "Versions" panel.
3. Select the same version of SpongeForge of your Pixelmon, here Spongeforge 1.16.5, /!\ Not Vanilla
4. Click on "REINSTALL" to start the installation /!\ this will remove all your server files

5. Check that JAVA 8 is selected under "Settings" (first panel page), if you have JAVA17 selected, the server won't start.
6. Click on the "SAVE CHANGES" button to apply the modification.

7. Start the server.

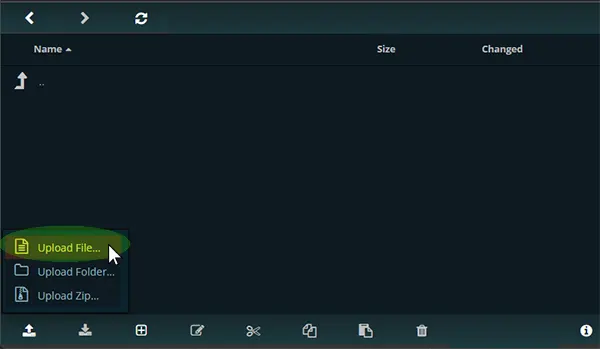
8. Click on WebFTP on the top of your panel

9. Click on Upload Arrow on the bottom of window to select, or Drag and Drop your Pixelmon-1.16.5-x.x.x-server.jar file mod in the server "mods" folder.
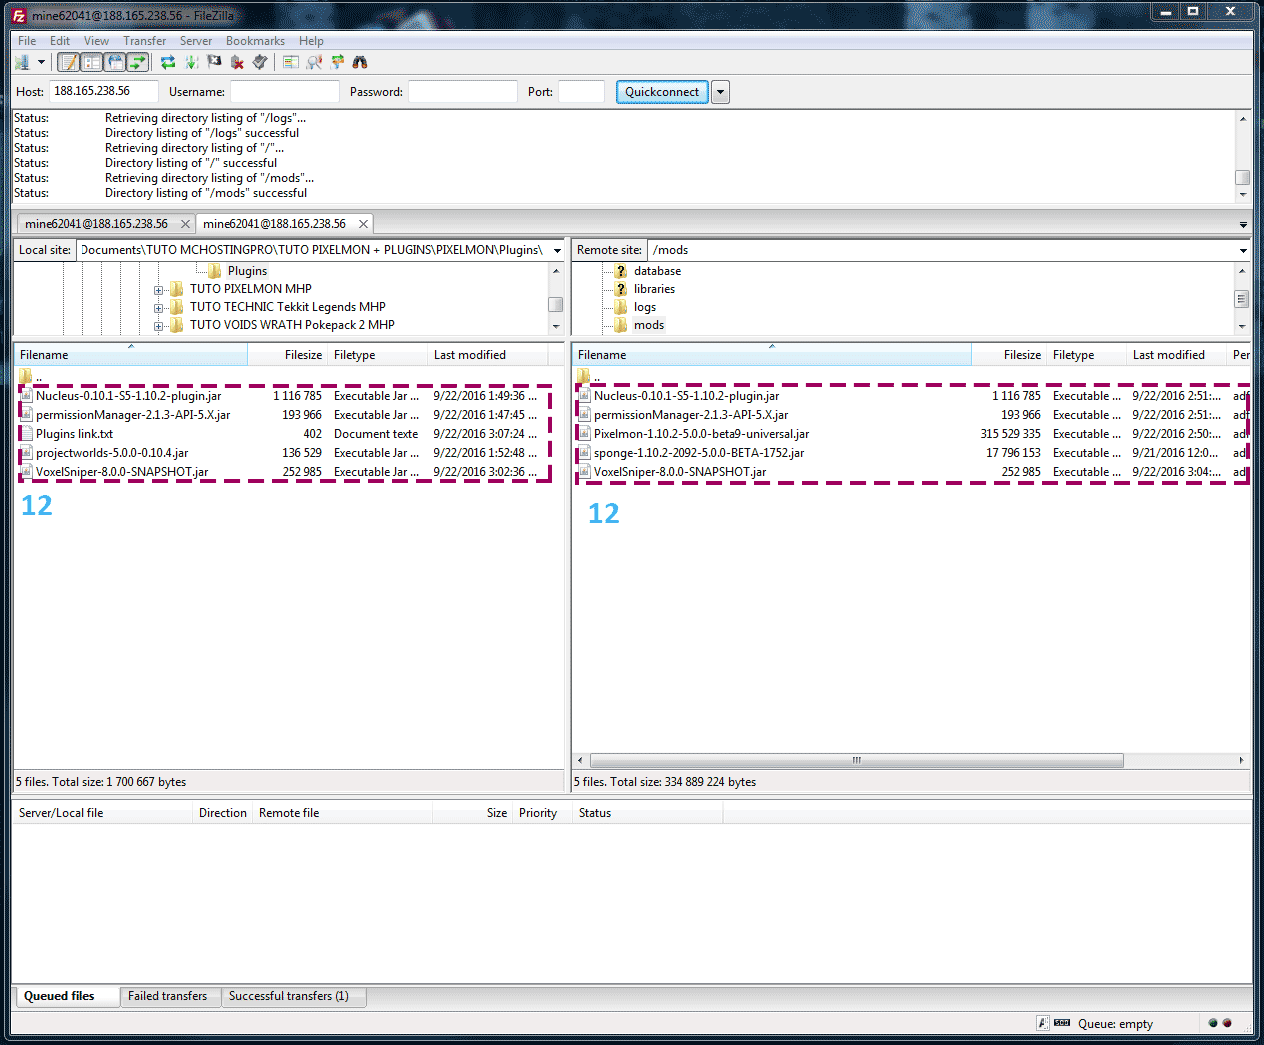
Alternatively, you can also connect to your server with FTP access in using Filezilla or Winscp
8. Restart the server
Client Installation
1. Download Pixelmon client mod files from the official Pixelmon reforged website
2. Now we'll install Forge on the client side, you need it to connect to your server. You can download Forge on the official Forge website
We select the latest version of Forge 1.16.5, you must use the one compatible with the current Pixelmon version.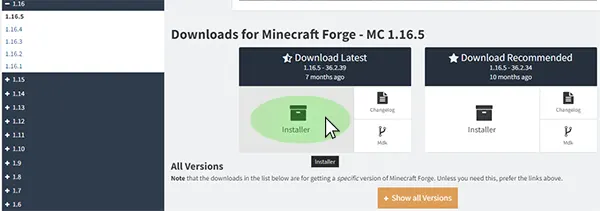
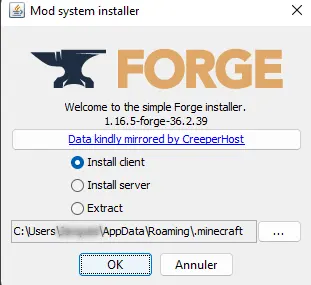
3. Execute the downloaded jar file, and Click on "OK" to launch the installation.
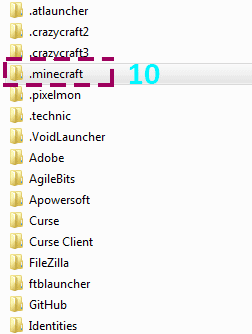
4. Now we'll put the PIXELMON MOD .jar file in the "mods" folder C:\Users\UsersMe\AppData\Roaming\.minecraft\mods
Write %appdata% to access to your Minecraft directory.

5. Click on .minecraft folder. (you must activate on your windows explorer, show hidden files)
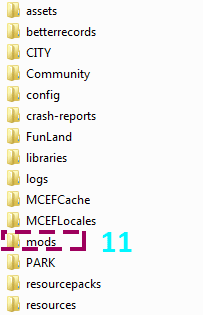
6. Click on the mods folder, and drop inside the Pixelmon client mod .jar file previously downloaded on step #1
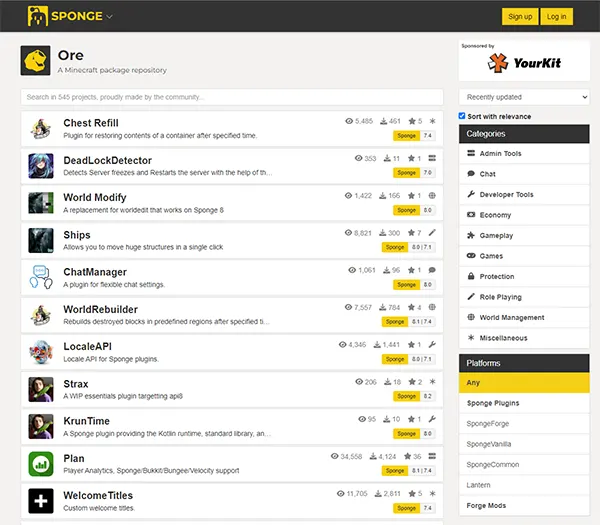
SPONGE plugins installation
You can download Sponge plugins on official sponge website
Note that some Sponge plugins may require additional dependencies or configuration changes to work correctly, so make sure to follow the installation instructions provided with the plugin.
Some recommended plugins :
LuckPerms
WorldEdit
GriefPrevention
Nucleus
1. Connect by FTP to your server, or use the WebFTP, to drag and drop the Plugins .jar files in the server "mods" folder.
/!\ Do Not create manually a "plugins" folder on root folder.
2. Restart the server
3. Open the server console to check that the server detects plugins.
Try to type /worledit version by exemple, the server should answer you
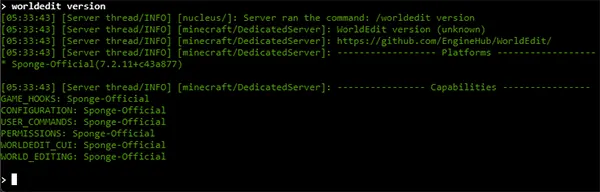
If you want more commands, you can go to this official sponge page